Showing posts with label upcycle. Show all posts

Friday, April 28, 2017

Save the Date!

October 7-8th, 2017... I've been accepted into the Newport News Fall Festival of Folklife so please come see me!!  Here is a temporary link NN Fall Festival  I will update this link as they update their website.  I don't have my booth number yet but you all will be the first to know where to find me.

I will still be selling my fabric bowls but will have new items as well.  A new line I will be introducing is my whimsical hand-painted home decor.  Here is a sneak peek of my pink and black end table:
Before

After

A close-up of the base:

I am also working on a child's bench that I will have in the show so stay tuned I'll be posting pictures soon.

Friday, October 23, 2015

Found objects and photography

Today my son asked me "Mommy why did you get interested in smashing things?"

"Well Joshua, do you remember the Steampunk wall hanging that I'm making?  Steampunk involves a lot of gears and wires and instead of buying them at a craft store I thought it would be more fun to smash apart an old electric knife cutter."  (This truly makes my art pieces one-of-a-kind)
Today I decided to go back to these railroad tracks that I explored a few months ago to look for more found objects.  These tracks are about an hour away so I don't make it up there often.  When I was there a few months ago I remember finding A LOT of railroad nails.  I picked up a few last time, and again this time, but what I was really there for was other rusted metal pieces. Rusted metal = steampunk look!
I am a very quiet and "to myself" kind of person so walking on railroad tracks by myself, enjoying the beautiful autumn weather is pure heaven for me.  I have always liked railroad tracks.  Maybe it's the idea that they could take me to different places that intrigue me.  Maybe it was the 1986 movie Stand By Me that turned me on to railroad tracks.

While I'm looking for rusty metal and taking pictures of these beautiful tracks today I remembered that photography was my first love, my first artistic expression.  So here again two of my artistic interests cross paths.
If you'd like to visit my Steampunk board on Pinterest you can find it here.  
  

Thursday, October 22, 2015

Two of my "in progress" art quilts

I cannot believe my favorite upholstery store is going out of business!!  This store was a hidden gem for me.  When one first enters this shop it seems pretty small, then there are swing doors to the second part of the store.  The first room housed most of the upholstery, the second room had mainly trims and tassels.  Then there was a third room in the back!  This is where I get super excited because they have bins and bins and bins full of remnants... CHEAP!  When I started making art dolls years ago I would use these remnants as their clothes.  Some upholstery is very textured and rich in colors and there are different types of patterns that you can't find in a traditional fabric or quilt shop. 

Since my artistic endeavors change like the wind I can usually find various uses for my art supplies.  Sometimes if I'm working on two different projects in two different mediums they will overlap, hence my love of art quilts.  Art quilts combine traditional quilt methods with a modern twist, usually adding unexpected objects to beautiful wall hangings. And this is where my ideas overlap... I could use my upholstery remnants as a base to creating unique one-of-a-kind art quilts!

This was one that I started a few months ago:
Of course it was 2-D until I added beads, yarn, ribbon and puffy paint to it.  I also made some of the centers stand out by using extra upholstery and stuffing it with cotton.
Then I found some of my old sculpey beads that go almost perfectly with these colors!  I probably made these in the early 90's.
(circular bead in the bottom right hand part of the photo)
Again this is not finished yet.

Last week when I went to this upholstery shop again (they aren't closing until at least December) I found this remnant that I fell in love with!  The moment I saw it it inspired me.  The dark brown part of the leaves are velvet and feel oh so soft!  Here was the picture I took a few days ago after quilting it and hand sewing a row of gold beads:
As you can tell by the photo there are gold accents on the beige background part of the upholstery.  When I quilted over this it seems to disappear so I wanted to make that stand out again... fabric markers to the rescue!  I have also added decorative yarn and turquoise beads.

I have a huge collection of beads and usually I can find the right colors to go with my projects.  Here is a photo of everything I've used so far:

As with the first one posted here I like to work on these for a while then walk away for a few days. This is why I could never be on Project Runway, sometimes they only have one day to complete a challenge!  Anyway, when I return to a project it is with "new eyes" and I am able to be inspired again.

Tuesday, April 14, 2015

Flashback

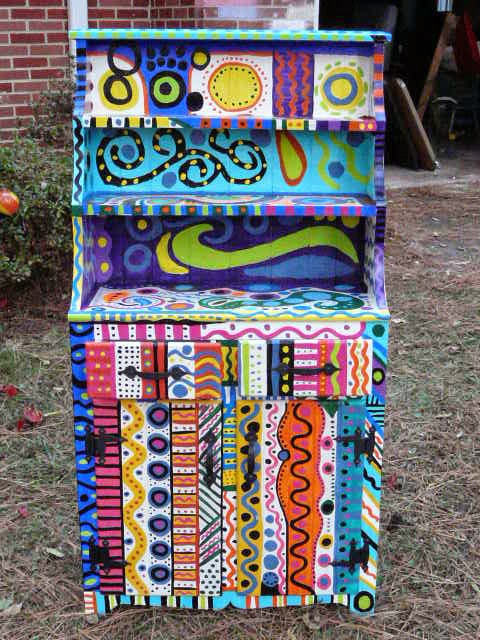
About a year ago I was asked to paint something for a silent auction for my parent's church.  I have a certain style that some may like and some may not but I love bright colors and whimsical designs so this is what I did:

Before (child's little hutch):

After (with my creative touch):

The back was not neglected either:

With the cabinet doors open:

Stay tuned to see my latest painted creations!

Saturday, February 14, 2015

Jewels for the Wall

For Christmas I received a subscription to Quilting Arts Magazine.  I love this magazine because it combines quilting with other mediums (right up my alley!).  I started making art quilts about 1-2 years ago, embellishing with found objects and beads.  This magazine shows me how to create my own fabrics with dyes, stamps and silk screening.  An article in the December2014/January2015 issue entitled Jewels for the Wall by Natalya Aikens inspired my next creations.  She made mini art quilts, framed them and then painted the frames to match the colors in the quilts.  Mine, of course, looks nothing like hers but that's the beauty of art!  Every artist has their own talents and interpretations of their world.

This was my very first one:
I only used fabric, beads and paint.
And because I love owls this was my second one:
For this creation I used fabric (the owl), upholstery (the gray background and the blue branch) and puffy paint (little designs coming off the branches).  There are also beads sewn on the eyes.
My third one is my absolute favorite because it's not as tight or structured as the last two.  I call it Steampunk and Butterflies.
(again I used fabric, upholstery, beads, clock parts and other hardware)

(top part):
(bottom part):
This is the start of two new creations.  I will be embellishing with seashells, sea grass and of course more beadwork.  The horizontal frame will be the seashore and the vertical frame will have lighthouse fabric in it.
These and many more creations will be for sale in my booth at the Newport News Fall Festival of Folk Life first weekend in October, please come out and see me!

Thursday, June 19, 2014

Featured Friday artist: ?? (he or she is even a mystery to me)

I would love to give credit to this artist, and I have searched for weeks to find a name, and although I haven't found the designer I really wanted to share these with you because I find them so interesting!

Last week I was at an antique mall in Virginia Beach, Barrett Street Antiques, and normally when I make it over there (about 1/2 hour drive) I go directly inside.  I have really been in my "creative mode" lately and I LOVE recycling old things.  When I pulled up this time I noticed that there were a lot of garden things outside.  Old statues laying around as well as life preservers and buoys, old wrought iron furniture and the like.  My kinda place! 
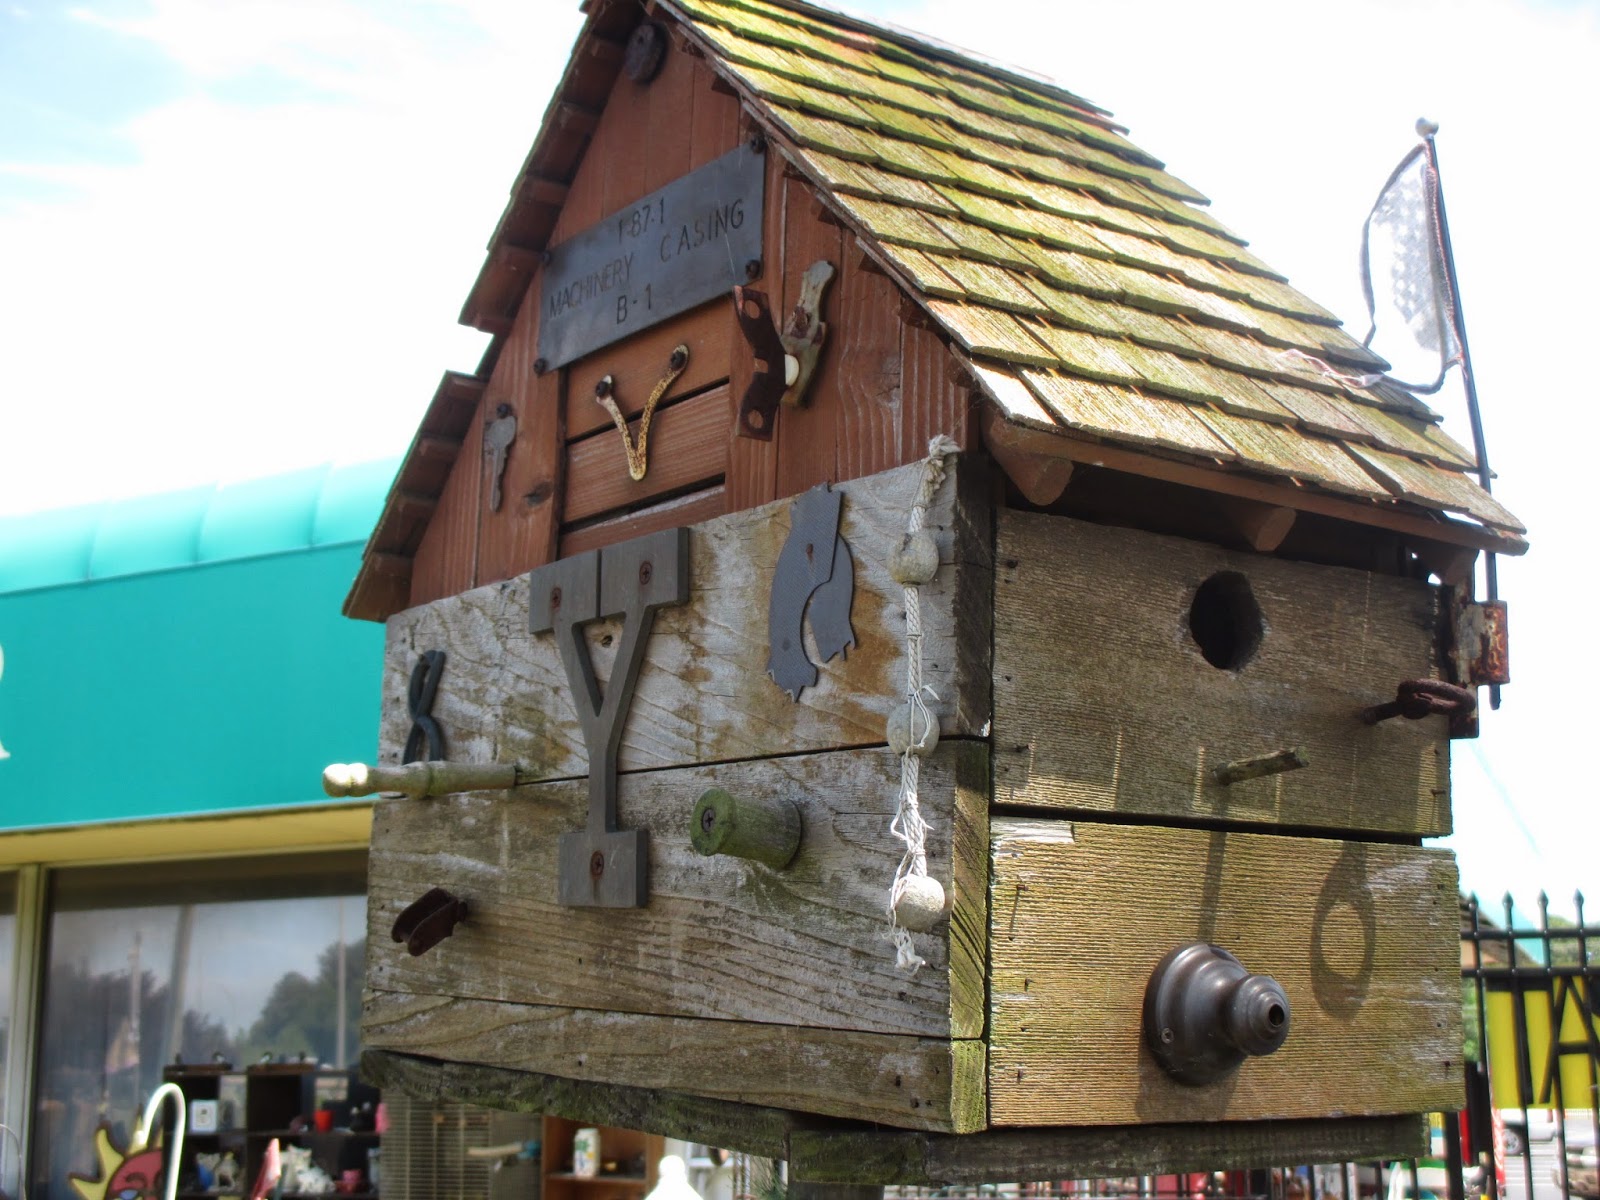
So I walk around out there for quite a while and discover these bird houses made out of recycled materials:
As I continued to look I found more and more of these gems!  I quickly went in and asked if I could take some pictures in the garden area, she looked at me like I had 3 heads but said yes I could take pictures.  Here are some more I found:

I found the #8 on a lot of the birdhouses, I wish I
could find the artist to ask him/her about it


After I took my pictures I went back inside to find out more about the artist. When I approached the desk I said "I'm interested in the birdhouses outside." She said "All of them?!" (Like I wanted to buy them all!  They were quite pricey.) I said "Oh no I'm interested in the artist, do you know who made them?"  Again a look of "Are you really interested in those old things??"  Then she gave a curt answer "... one of the sellers owns that part out there, he makes them and tries to sell them here".  She obviously wasn't going to give me any info and didn't want to help him out either. 

I am truly sorry for not giving this artist credit so if you're in the Virginia Beach area and can find out any more about this artist I will be sure to update this post.


Wednesday, August 14, 2013

More Art Dolls!

Here is a glimpse of some of my new (and not so new) art dolls that I've been working on this summer:


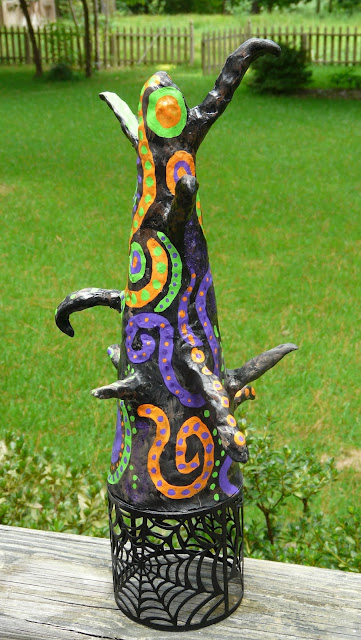
And now a look at a few "dolls" from my Halloween collection (my favorite holiday)


All of these will be for sale plus many more (including my Christmas collection) at the Newport News Folk Festival the first weekend in October!

Monday, December 3, 2012

Art Dolls

A new artistic form for me but the possibilities are now endless!  I am using everything from Celuclay to paper mache and from Styrofoam to dowel rods.  I am scouring the thrift stores for items to use and using buttons, beads, wire and anything else I can find to create these one of a kind pieces.  They are fun and whimsical and I'm having a blast creating them!

I started out by making pumpkin heads from Celuclay and Creative Paper Clay.
I also make a cat head because I love cats. 

At this point I had no idea what these would turn into so they sat on my work table until I went to a thrift store looking for something that I could possibly turn into a body.  And this is what I ended up with.  I ended up gluing candle holders upside down to bases.
The one on the left would eventually become the cat's body and the one in the center would become the body for the juggling pumpkin head man.
I created the body using wire, batting and creating my own pattern for the outfit.
 
I'm not completely finished with these two but I'm getting there.

And here's a sneak peek at two more I'm working on, again still works in progress:

Wednesday, September 7, 2011

Innertubes and Pleather

When my mother-in-law came for a visit last week she wore this beautiful pin that I had to "pick apart" to see how it was made.  She explained to me that she had gotten it from an art show and that it was made out of innertubes.  An innertube... as in tire, innertube?  Yes.  And it was beautiful. 

Well that got my wheels turning, of course.  Hmmm. I know I could just go to Walmart and buy an innertube for less than $5.00 but let's hit the thrift store first.  I ended up finding a steering wheel cover at the thrift store that I could cut apart, perfect.  I did end up buying an innertube at Walmart also.  Wow, experimenting is so much fun!

Yesterday I was in JoAnn's buying pleather (fake leather) to experiment with also.  I was quite disappointed that JoAnn's only had black, cream, grey and bright yellow.  Where were the rest of the bright colors?  Hot pink, lime green, radical reds?  In the same shopping center was another thrift store. So I head on over there to find... innertubes, pleather, hard fabric... anything that I could make a pin out of because I now have more ideas in my head.  

As a side note I LOVE painting on buttons.  I have about 100 buttons in various stages of being painted.  But I don't exactly know what to do with them.  I can always turn them into pendants which I have done in the past and wear them quite frequently but the artist in me is always trying to create new things.
My idea was to create a larger base for my painted buttons and turn them into pins that women could wear on their coats and also light weight enough to be worn on blouses as well.

In the thrift store I stumbled upon the purse section.  WOW!  Why didn't I think of this before!  Purses are made of various pleather, vinyl and  "hard fabric" that could easily be cut up.  Perfect.  This is what I found (totalling maybe $5.00):
And this is what I created last night:
I just love the way they all turned out but here are my two favorites:
To me, the one on the left looks like a face with it's hair standing straight up.  The black and white one is my largest one so far. The diameter measures 2.5"

Eventually all of these will be for sale at my Etsy shop but I don't think some of them are quite done yet.  I want to add lime green backings to some and make others bigger and bolder.  The thrift store had one green purse, why didn't I buy it?!?!  "oh darn" I say sarcastically "I may just have to go on another search today".